
No-Bake Gingerbread Cheesecake Cups Recipe 2025 – Recipes Of Chicken
Introduction
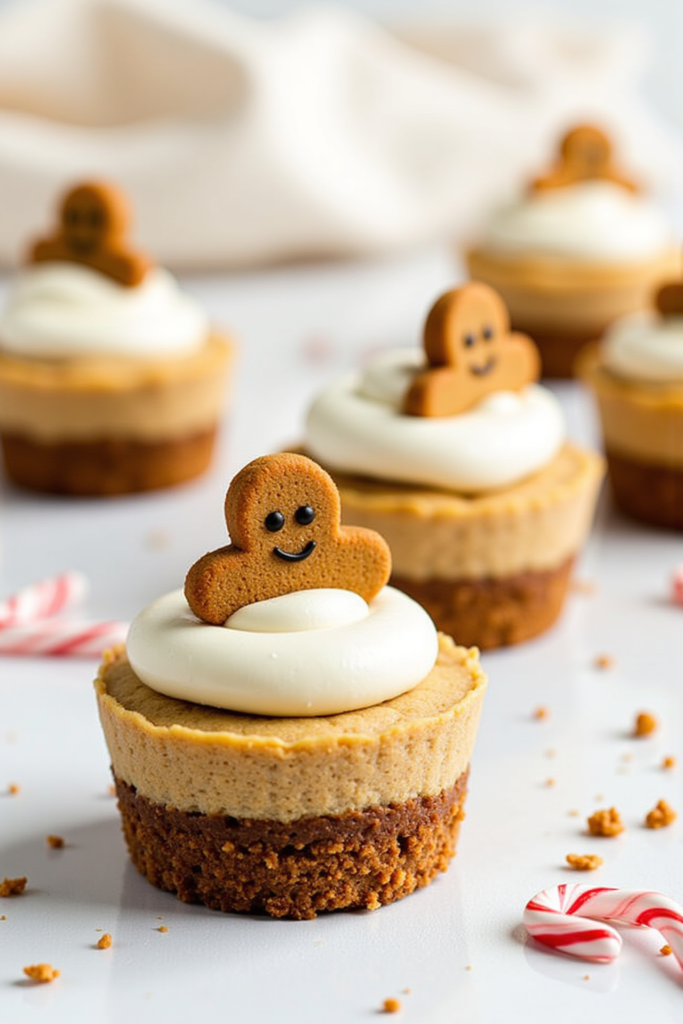
Craving a festive dessert that dazzles with warm spices and creamy richness—without ever turning on your oven? These No-Bake Gingerbread Cheesecake Cups deliver those classic holiday flavors with zero fuss. Their layered presentation makes them a show-stopping addition to holiday tables, potlucks, or as an impressive make-ahead treat for family nights. Best of all, this recipe requires simple prep, making it perfect for cooks of all skill levels.
Why These No-Bake Gingerbread Cheesecake Cups Stand Out
Blending the spicy, molasses-rich notes of gingerbread with a luscious, tangy cheesecake filling, these cups pack bold flavor and irresistibly smooth texture in every spoonful. With their eye-catching layers and fresh whipped topping, they’re guaranteed to be a crowd pleaser—no oven needed. Plus, individual portions mean easy serving and less mess.
Creating Your Gingerbread Cookie Base
The foundation of each cheesecake cup is a buttery, spiced gingersnap cookie crumb. Simply crush your favorite store-bought gingersnaps or gingerbread cookies and combine them with a bit of melted butter. This creates a fragrant, slightly crunchy base that perfectly complements the creamy cheesecake layer.
Whipping Up the No-Bake Cheesecake Filling
For the filling, mix together smooth cream cheese, tangy sour cream, and a touch of molasses for authentic gingerbread flavor. Add ground ginger, cinnamon, nutmeg, and cloves for that perfect holiday spice blend. The result is a thick, velvety cheesecake mixture—no baking or eggs required!
Assembling Your No-Bake Gingerbread Cheesecake Cups
Layer the spiced cookie crumbs and spiced cheesecake filling in clear dessert cups or jars for a stunning visual effect. Top each cup with clouds of freshly whipped cream and a sprinkle of extra cookie crumbs or festive sprinkles for a finishing touch.
Serving Suggestions for Gingerbread Cheesecake Cups
Serve these cups slightly chilled for the best texture. They’re elegant enough for holiday parties, yet easy enough to pack for office treats or after-dinner desserts. Pair with hot spiced cider or your favorite winter tea to enhance the seasonal mood.
Nutritional Information and Serving Size
This recipe yields 8 generous dessert cups. Each serving contains approximately 340-370 calories, depending on toppings and cookie choices. It’s a decadent but well-portioned treat—enjoy in moderation for the perfect holiday indulgence!
No-Bake Gingerbread Cheesecake Cups (Recap)
If you’re seeking a charming, effortless dessert brimming with gingerbread flavor, these no-bake cheesecake cups are your answer. With a crunchy base and creamy, spiced filling, they bring festive cheer to every dessert table.
Ingredients
💡Meal Planning Tip: Save this recipe to automatically generate an organized shopping list with all ingredients sorted by store section—saving you time on grocery runs and streamlining your weekly meal prep.

Instructions
- In a mixing bowl, combine cookie crumbs and melted butter, stirring until evenly moistened.
- Spoon 2 tablespoons of the crumb mixture into the bottom of each dessert cup, pressing gently to form a base. Reserve a little for topping.
- In a separate bowl, beat the cream cheese with powdered sugar until smooth and fluffy.
- Mix in sour cream, molasses, vanilla, ginger, cinnamon, nutmeg, and cloves until well combined.
- Fold 1 cup of whipped cream gently into the cheesecake mixture to lighten.
- Divide the cheesecake filling evenly among cups, spooning over the crust layer.
- Top each cup with a dollop of whipped cream and a sprinkle of reserved cookie crumbs or sprinkles.
- Chill for at least 2 hours before serving for best texture and flavor.
Weekly Meal Planning
This recipe is a wonderful make-ahead dessert for weekly meal plans, especially for busy holiday weeks. Save and schedule this recipe to your meal plan, and CookifyAI will automatically generate a smart shopping list that consolidates ingredients from all your scheduled meals.
Planning Benefits:
– Totals up all your ingredient quantities for efficient shopping
– Sorts grocery lists by store section to save you time
– Helps prevent overbuying or missing items
– Streamlines your meal prep and scheduling
Pro tip: If you’re making multiple festive treats for the week, schedule your recipes and let CookifyAI combine and calculate quantities for flour, sugar, or spices—making baking season a breeze while cutting down on food waste.
Cook and Prep Times
Prep Time: 20 minutes
Chill Time: 2 hours
Total Time: 2 hours 20 minutes
Enjoy worry-free entertaining with these No-Bake Gingerbread Cheesecake Cups: big on flavor, low on stress, and perfectly tailored for organized meal planning!