Homemade Vanilla Wafers
Introduction
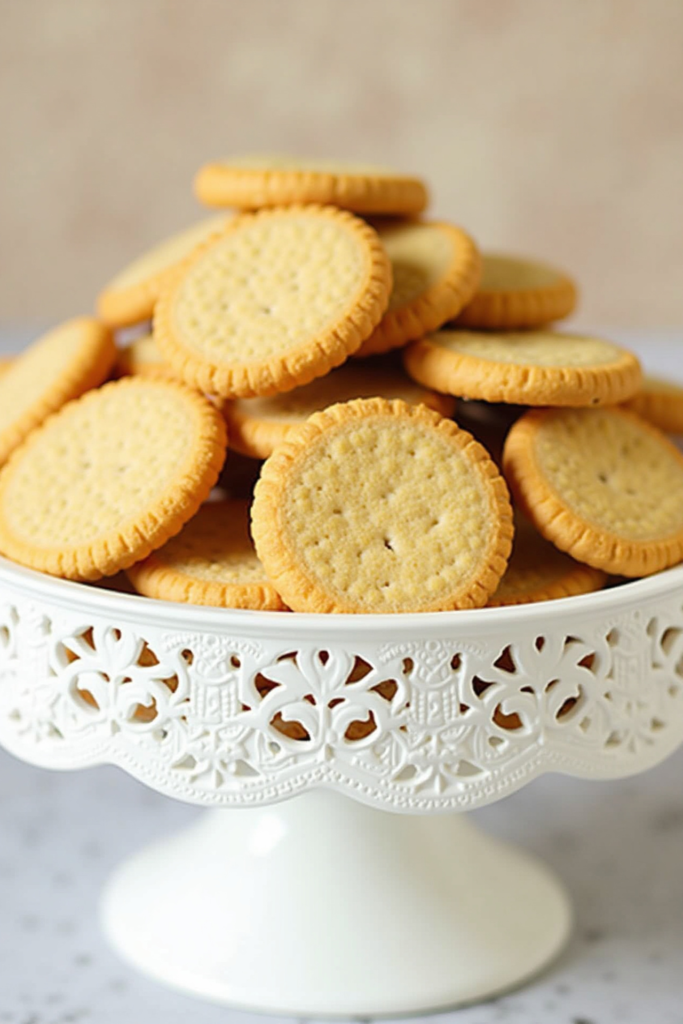
Homemade Vanilla Wafers are a classic treat that bring nostalgia and pure vanilla flavor to any kitchen. Unlike store-bought Nilla Wafers, these made-from-scratch cookies are richer, more fragrant, and customizable—a versatile staple for banana pudding, icebox pies, or simply enjoying with a glass of milk. Save yourself a trip to the store and bake up a batch that boasts unbeatable freshness and flavor.
Why Try Homemade Vanilla Wafers Instead of Nilla Wafers?
Homemade Vanilla Wafers deliver deeper vanilla notes and a delicate, buttery texture that’s hard to find in packaged versions. These cookies are crisp around the edges, gently soft in the center, and have a beautiful golden hue. They’re easy to make with pantry staples and have no preservatives or artificial flavors—just pure, homemade goodness.
The Secret to Perfect Vanilla Wafer Flavor
The key to extraordinary vanilla wafers is high-quality vanilla extract (or vanilla bean paste for extra luxury). Creaming real butter and sugar until light and fluffy sets the foundation for a cookie that melts in your mouth. For a touch of warmth and color, you can even add a hint of ground vanilla or extra egg yolk.
How to Get the Classic Wafer Shape and Texture
A small cookie scoop ensures even, round cookies with just the right thickness. For authentic wafer crispness, avoid overbaking—the edges should be faintly golden while the centers remain lightly set. Once cooled, these wafers crisp up beautifully and offer that perfect dunkable texture.
Serving Suggestions for Homemade Vanilla Wafers
Enjoy these wafers on their own, or layer them into classic banana pudding, crumble them over ice cream, or use as the base for mini cheesecakes. Their subtle sweetness and aroma also make them a lovely addition to cookie platters or lunchbox treats.
Nutritional Information and Serving Size
This recipe yields about 40 homemade vanilla wafers. Each cookie has roughly 35 to 40 calories, making them a light and satisfying treat that fits easily into a balanced dessert spread.
Homemade Vanilla Wafers – Better Than Nilla Wafers (Recap)
Baking your own vanilla wafers results in a cookie that surpasses any boxed version—fresh, fragrant, and perfectly textured. These wafers elevate classic desserts and offer simple luxury in every bite.
Ingredients
💡Meal Planning Tip: Save this recipe to automatically generate an organized shopping list with all ingredients sorted by store section—perfect for efficient grocery trips and stress-free meal planning.

Instructions
- Preheat your oven to 350°F (175°C). Line two baking sheets with parchment paper for consistent, even cookies.
- In a small bowl, whisk together the flour, baking powder, and salt. Set aside.
- In a large mixing bowl, cream the butter and sugar together until pale and fluffy, about 2–3 minutes. Beat in the egg and vanilla extract (or paste) until combined.
- Gradually add the flour mixture to the wet mixture, mixing just until incorporated. If the dough seems too stiff, stir in 1 tablespoon of milk.
- Using a small cookie scoop or teaspoon, drop level portions of dough onto the prepared baking sheets, spacing about 2 inches apart. Lightly smooth the tops for the classic wafer look.
- Bake for 12–15 minutes, rotating the pans halfway, until the cookies are lightly golden around the edges but still pale in the centers.
- Let the cookies cool on the baking sheets for 5 minutes before transferring to a wire rack to cool completely. The wafers will crisp up as they cool.
Weekly Meal Planning
Homemade Vanilla Wafers fit perfectly into a weekly meal plan—make a batch ahead for snacking, dessert prep, or as a homemade pantry staple. Save and schedule this recipe to seamlessly create shopping lists that merge ingredients for all your planned meals, making every grocery trip efficient and organized.
Planning Benefits:
- Combines ingredient totals for streamlined shopping
- Sorts your list by grocery store section
- Eliminates unnecessary purchases and forgotten items
- Simplifies prep for snacks, desserts, and potlucks all week long
Pro tip: When planning several recipes, schedule them all so shared ingredients—like butter or eggs—are automatically pooled together for one efficient grocery list, reducing food waste and shopping time.
Cook and Prep Times
Prep Time: 15 minutes
Cook Time: 12–15 minutes
Total Time: 30 minutes