Easy No-Bake Cheerio and Peanut Butter Bars
Introduction
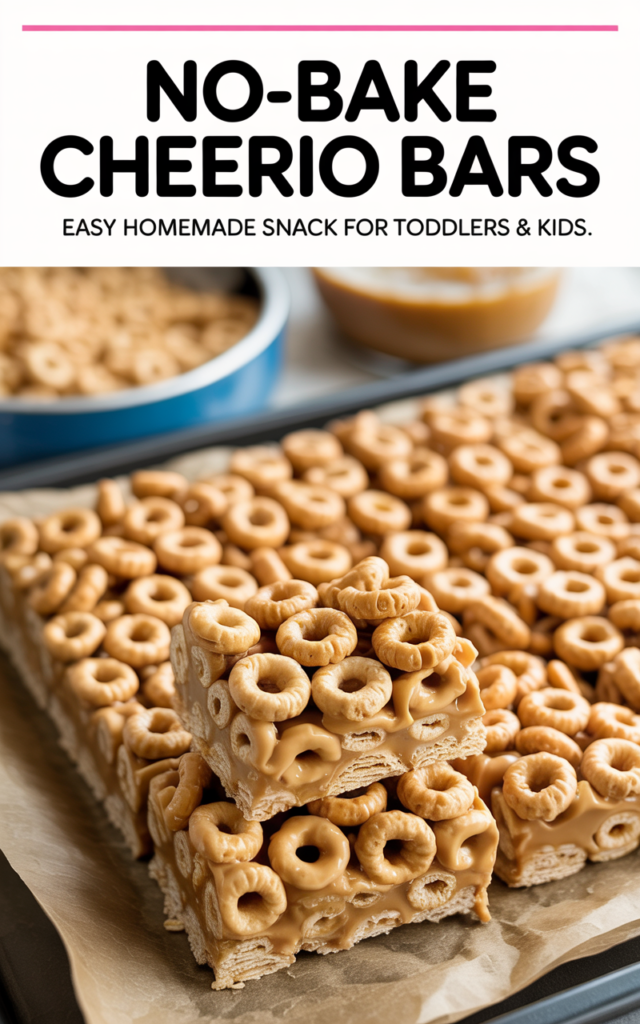
When you crave something sweet, crunchy, and full of satisfying peanut butter flavor—but don’t want to turn on the oven—these Easy No-Bake Cheerio and Peanut Butter Bars are the ultimate solution. Ready in under 15 minutes (plus chilling time!), these bars are ideal for kids’ snacks, on-the-go breakfasts, or quick party treats. Their irresistible combination of chewy texture and nutty taste makes them a guaranteed hit at any gathering.
Why No-Bake Cheerio and Peanut Butter Bars are a Must-Try
This recipe shines for its simplicity and versatility. Cheerio cereal adds a delightful crunch, while peanut butter brings creaminess and depth of flavor. There’s no need for baking or advanced kitchen skills, making this a fuss-free treat that rivals any store-bought bar. With just a few pantry staples, you get wholesome, homemade goodness that’s naturally gluten-free (if you use gluten-free Cheerios and peanut butter!).
Building the Perfect Cheerio and Peanut Butter Base
To build a sturdy and delicious base, start by gently mixing peanut butter with a bit of honey or maple syrup. Warm the mixture for easy stirring—using a nonstick skillet, like the SENSARTE Nonstick Frying Pan Skillet, 9.5 Inch, ensures nothing sticks and cleanup is a breeze.
Pouring the melted mixture over your Cheerios and then pressing it firmly into a lined baking pan is key for successful bars. For easy removal and zero mess, line your pan with a sheet of Reynolds Kitchens Brown Parchment Paper Roll.
Tips for Mixing and Forming Bars
Even mixing yields bars with Cheerio crunch in every bite. If you prefer a finer Cheerio texture, pulse the cereal in a Ninja BL610 Professional 72 Oz Countertop Blender just a few times—this helps the bars hold together even better, especially for lunchboxes.
For clean, uniform slicing, a sturdy spatula and a sharp knife do the trick, but an Amazon Basics Digital Kitchen Scale can help you divide the mixture evenly into perfectly portioned bars.
Serving and Storing Your No-Bake Bars
Once set, store the bars in Rubbermaid Brilliance Food Storage Containers to keep them fresh all week long, or wrap individually for grab-and-go snacks. These bars stay soft and chewy at room temperature but can also be chilled for firmer texture.
Enjoy them as an energizing breakfast, an afternoon pick-me-up, or a wholesome dessert that everyone will love!
Nutritional Information and Serving Size
This recipe makes about 12 bars. Each bar contains roughly 180 calories, 7g protein, and 3g fiber—nutritious enough for breakfast, indulgent enough for dessert.
Easy No-Bake Cheerio and Peanut Butter Bars (Recap)
Crave-worthy, chewy, and crunchy, these bars blend simple ingredients with effortless technique. With no oven required, you’ll have a batch of homemade treats ready in no time—perfect for sharing, gifting, or enjoying alone!
Ingredients
Instructions
- Line an 8×8-inch pan with Reynolds Kitchens Brown Parchment Paper Roll for easy bar removal.
- In a medium saucepan or SENSARTE Nonstick Frying Pan Skillet, 9.5 Inch over low heat, combine the peanut butter and honey. Stir until smooth, then remove from heat. Mix in the vanilla extract and salt.
- Place the Cheerios in a large bowl. Pour the warm peanut butter mixture over the cereal and quickly stir to coat all the pieces evenly. For a finer texture, lightly pulse the Cheerios in a Ninja BL610 Professional 72 Oz Countertop Blender before mixing.
- Transfer the mixture to the prepared pan. Use a spatula or your hands (pressing with a sheet of parchment on top) to press the mixture firmly and evenly into the corners. For even portions, weigh sections using an Amazon Basics Digital Kitchen Scale.
- Sprinkle with chocolate chips or peanuts if desired. Chill in the refrigerator for 1 hour or until set, then slice into bars.
- Store bars in Rubbermaid Brilliance Food Storage Containers at room temperature for up to 4 days, or refrigerate for firmer bars and longer storage.
Cook and Prep Times
Prep Time: 10 minutes
Chill Time: 1 hour
Total Time: 1 hour 10 minutes
Enjoy these easy, no-fuss bars any time you need a boost—they’re sure to become a staple in your snack rotation!